Once our team finalized the storyboard of the Control Rod Crisis, we began formulating each individual component of the design. For the rods, we created three general criteria that they had to meet: low cost, durable, and aesthetically pleasing.
Low cost was a critical metric because the pieces could not be financially prohibitive, and because that’s good business. The rods were likely going to endure a significant number of drops, so we knew that they would need to be durable. Finally, to be immersive and entertaining for the players, they would have to be aesthetically pleasing.
We refined the criteria with additional details in our sketch model. Our team built a prototype working system, and we included multiple variations of the control rods, which varied by size, appearance, and hook mechanism. Furthermore, we created different versions of the hooking mechanism, experimenting with a claw, a basic hook, and a vacuum.
The rods were constructed out of a PVC pipe and cap, designed to roll. We found that the larger, 3-inch diameter rods felt more substantial to interact with and chose that design over the smaller 2-inch diameter rods.
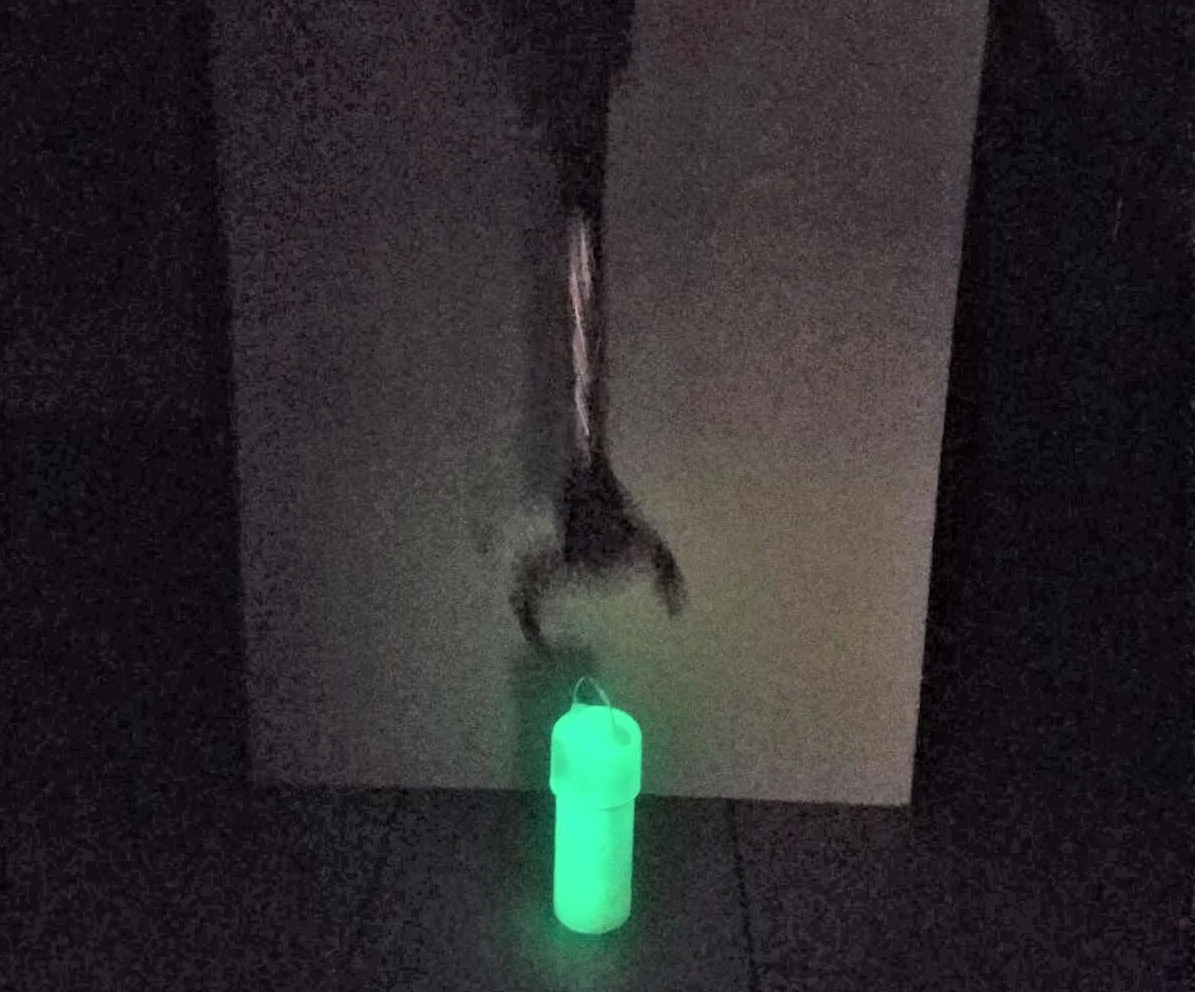
We initially painted the rods in different colored paint, playing with the idea of what was most visually appealing. We wanted the rods to look radioactive, but not yet “melting down,” because the goal of the game is to avoid that. We found that the most appealing paint was simply glow-in-the-dark.
We found that a semi-circle loop made the most visual sense for the hook on the rods. We tried an eye hook as well as an open hook, each of which was too difficult to be useful.
For the hooking mechanism, we decided on a basic, multi-pronged hook, due to its combination of simplicity to construct and difficulty in operation. Using a claw proved to be too easy for the player, while complicated to install because of the electricity required. A vacuum system was a bit too violent and loud, so we eliminated it.
We presented our prototype to the class and received feedback that the rods could be more aesthetically pleasing. We also received feedback to consider blacklight paint, which we had evaluated but originally chose to go with glow-in-the-dark paint. We realized that the paint would require an energy source to glow in the dark, continually needing to be “recharged.” Thus, we concluded a blacklight-painted rod would be more effective because permanent blacklights could be installed.
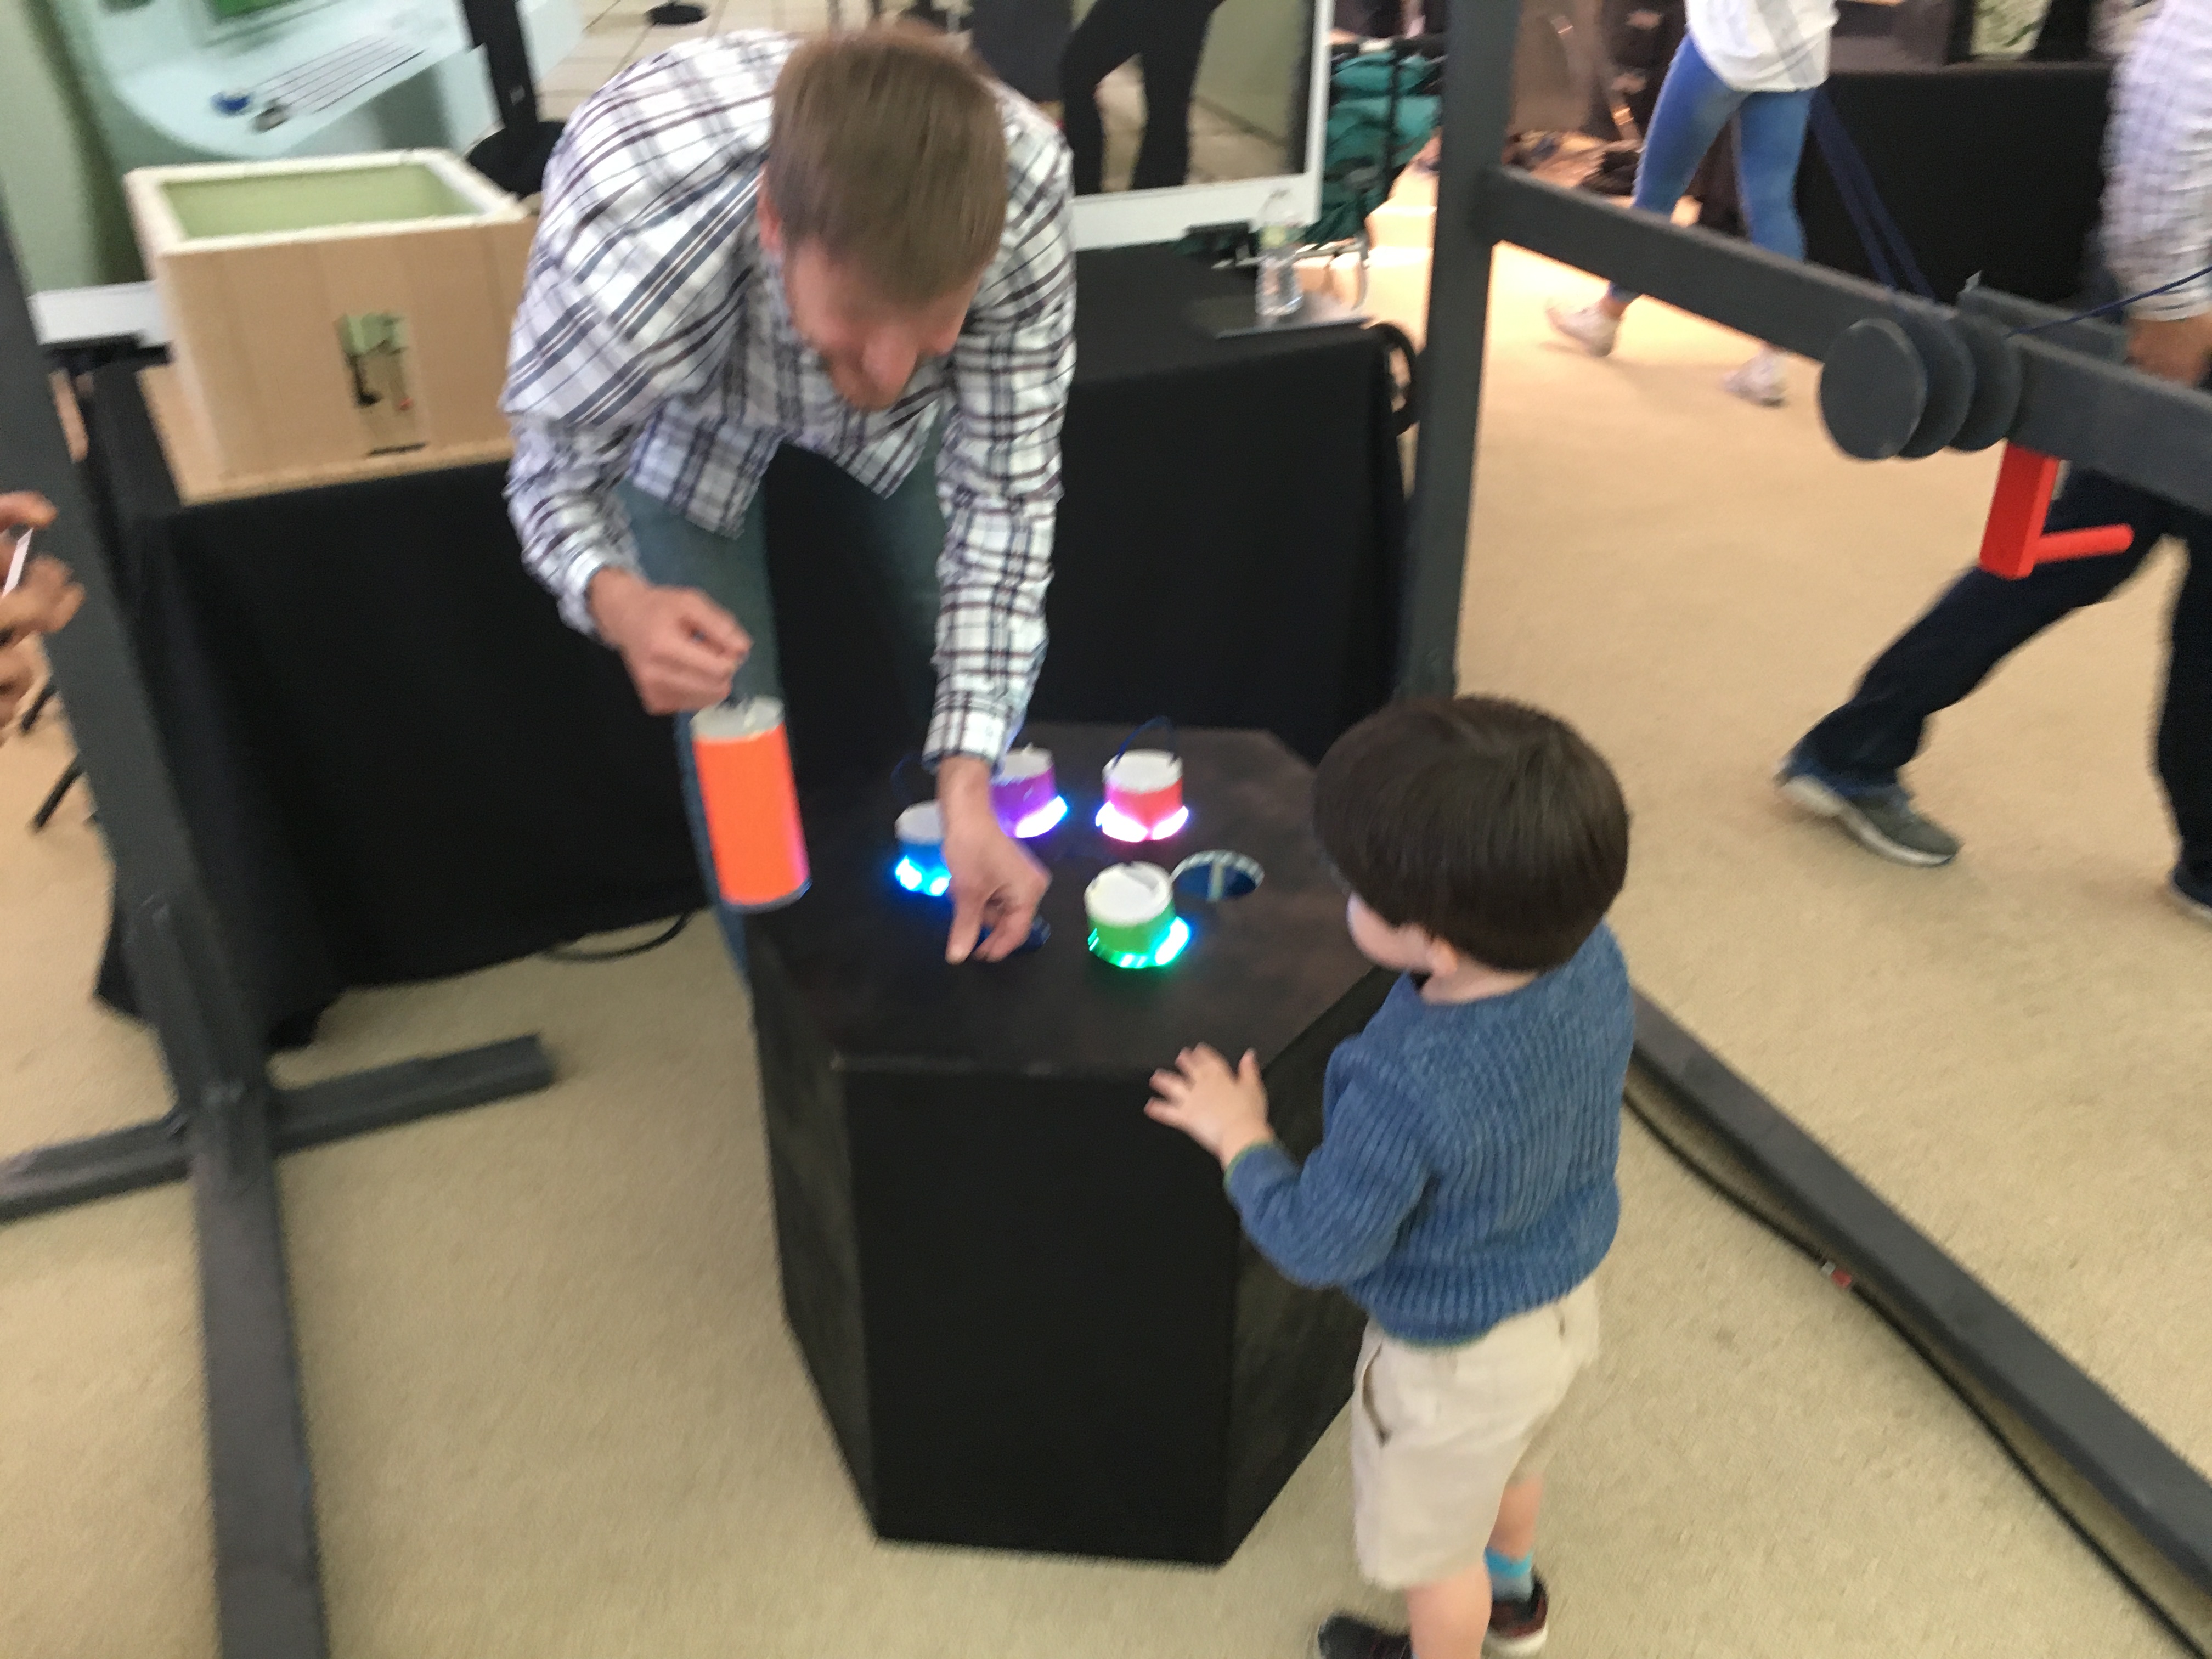
We also wanted to expand on the user experience in our refinement, and decided to expand the rod and core interaction to include a light-up system that would provide the players with visual feedback when they succeeded. Also, the system needed a self-reset option, which would need to interact smoothly with the rods.
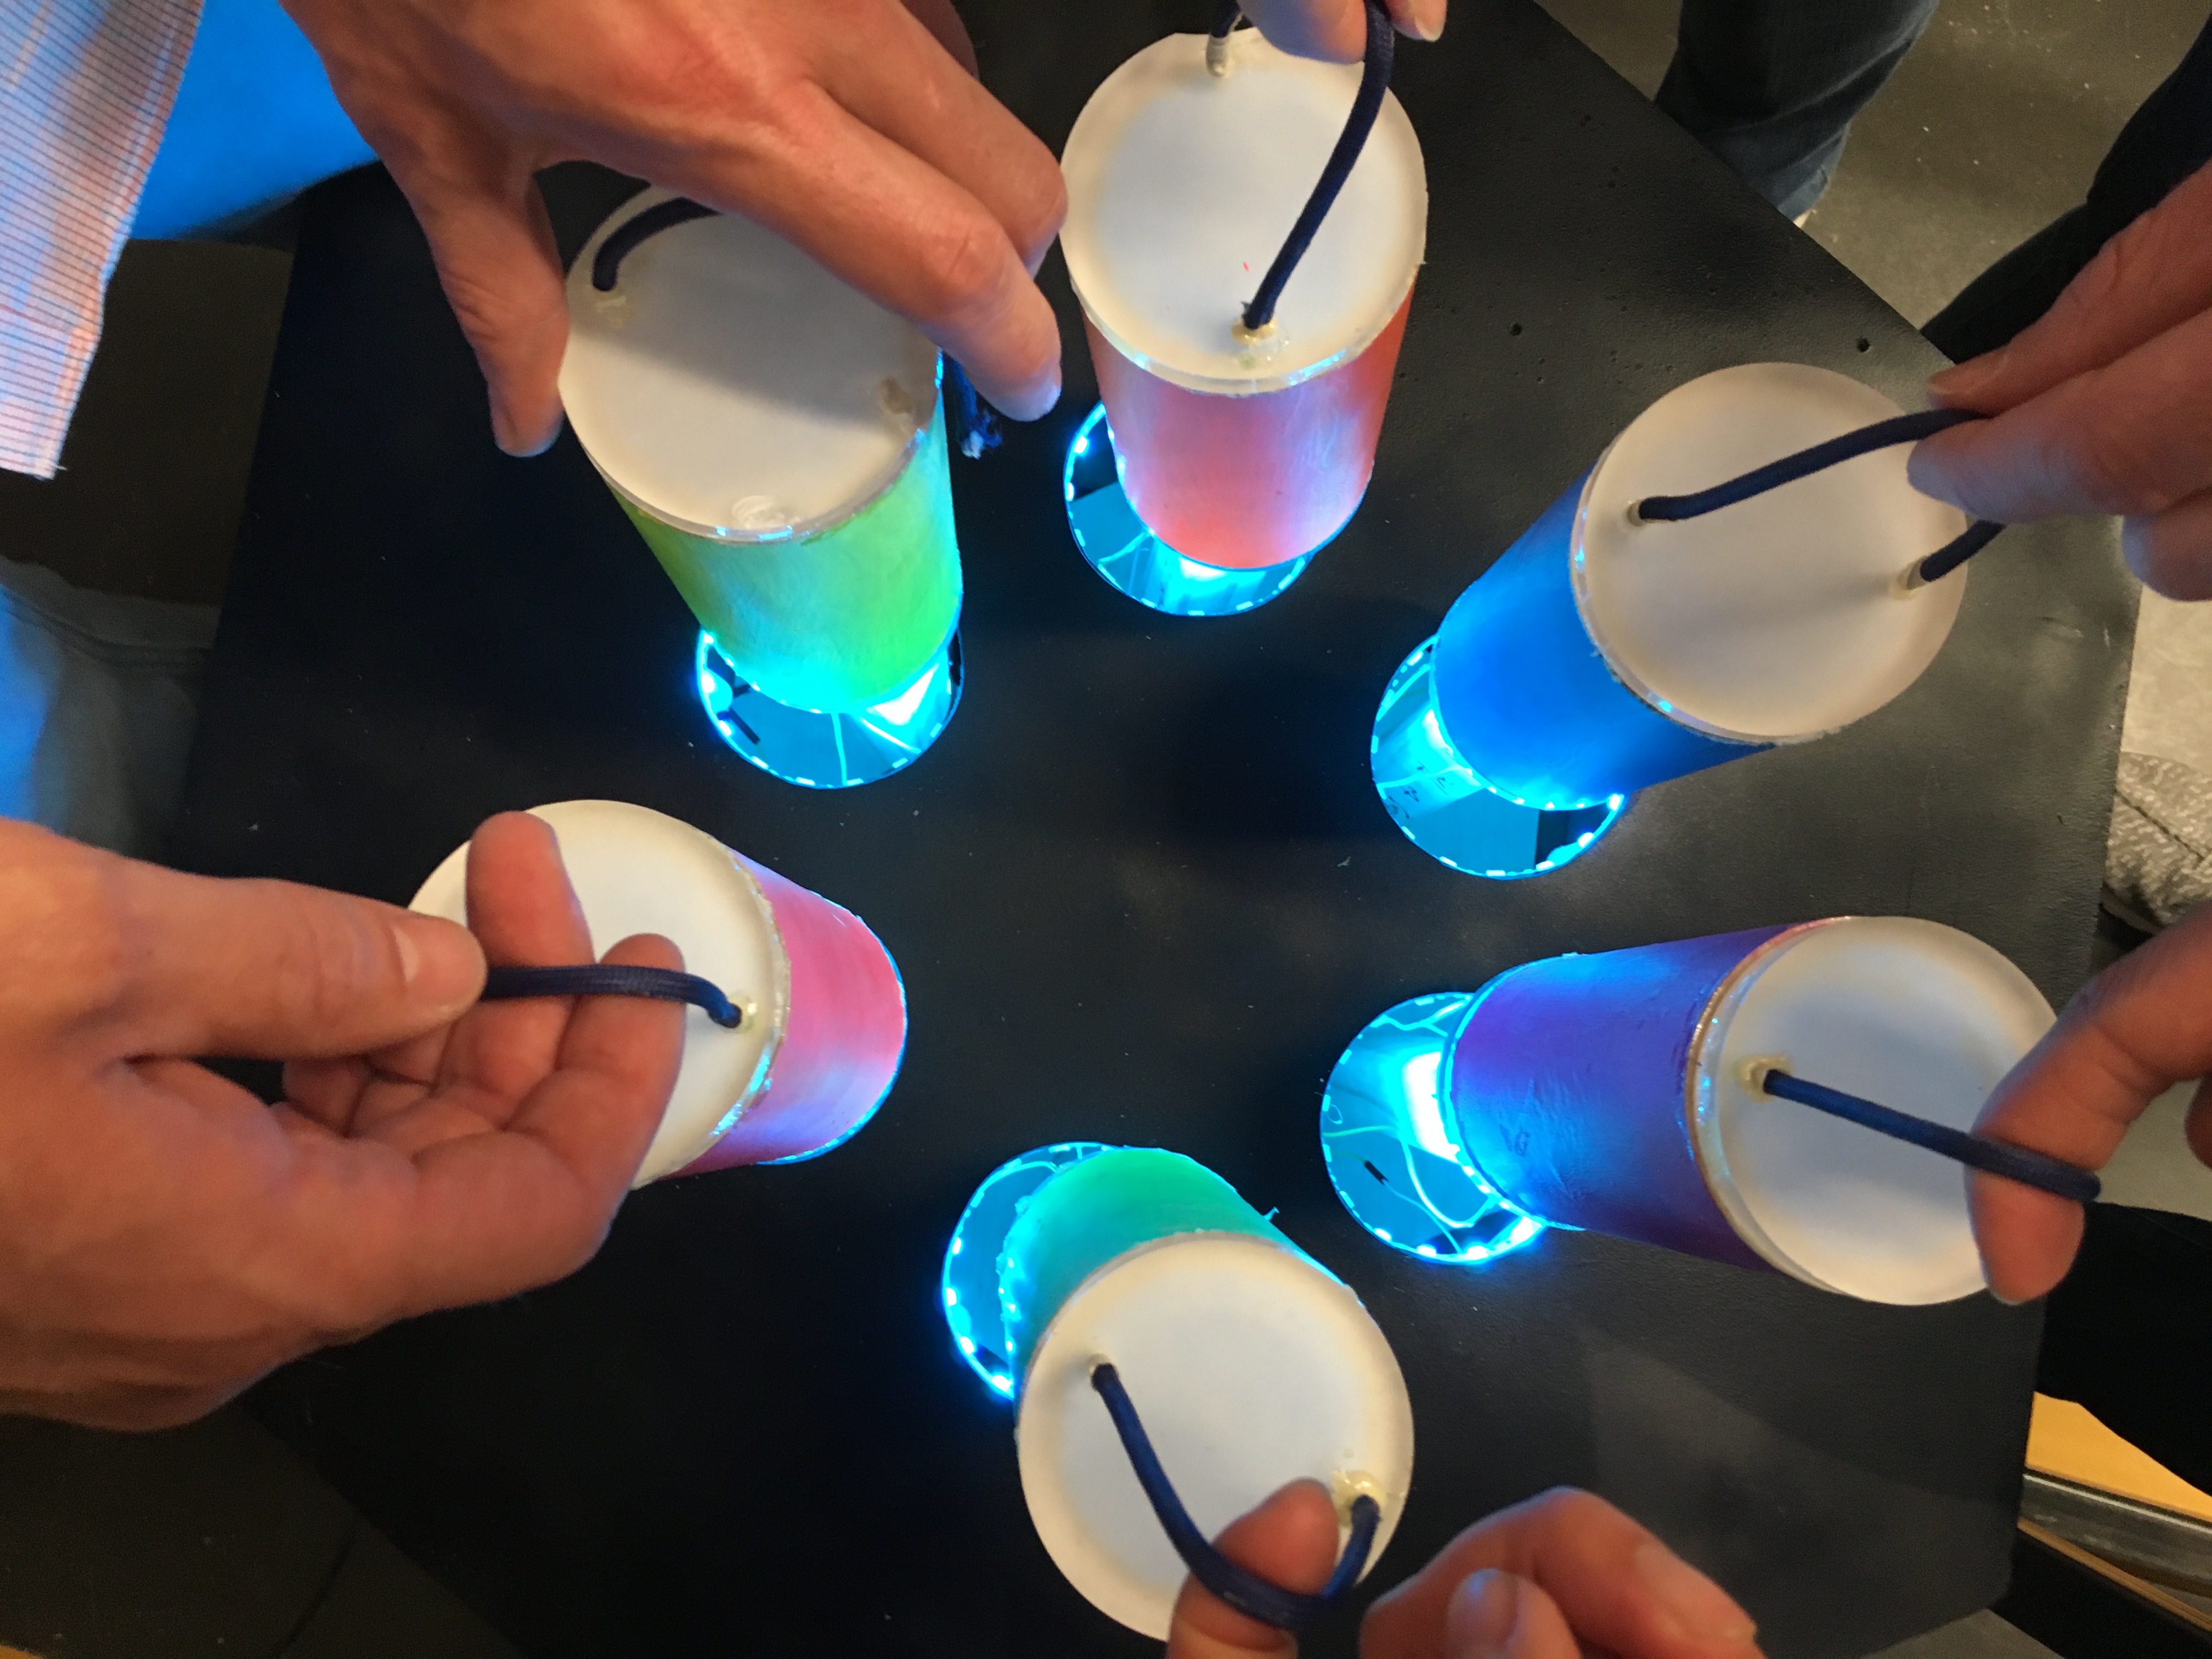
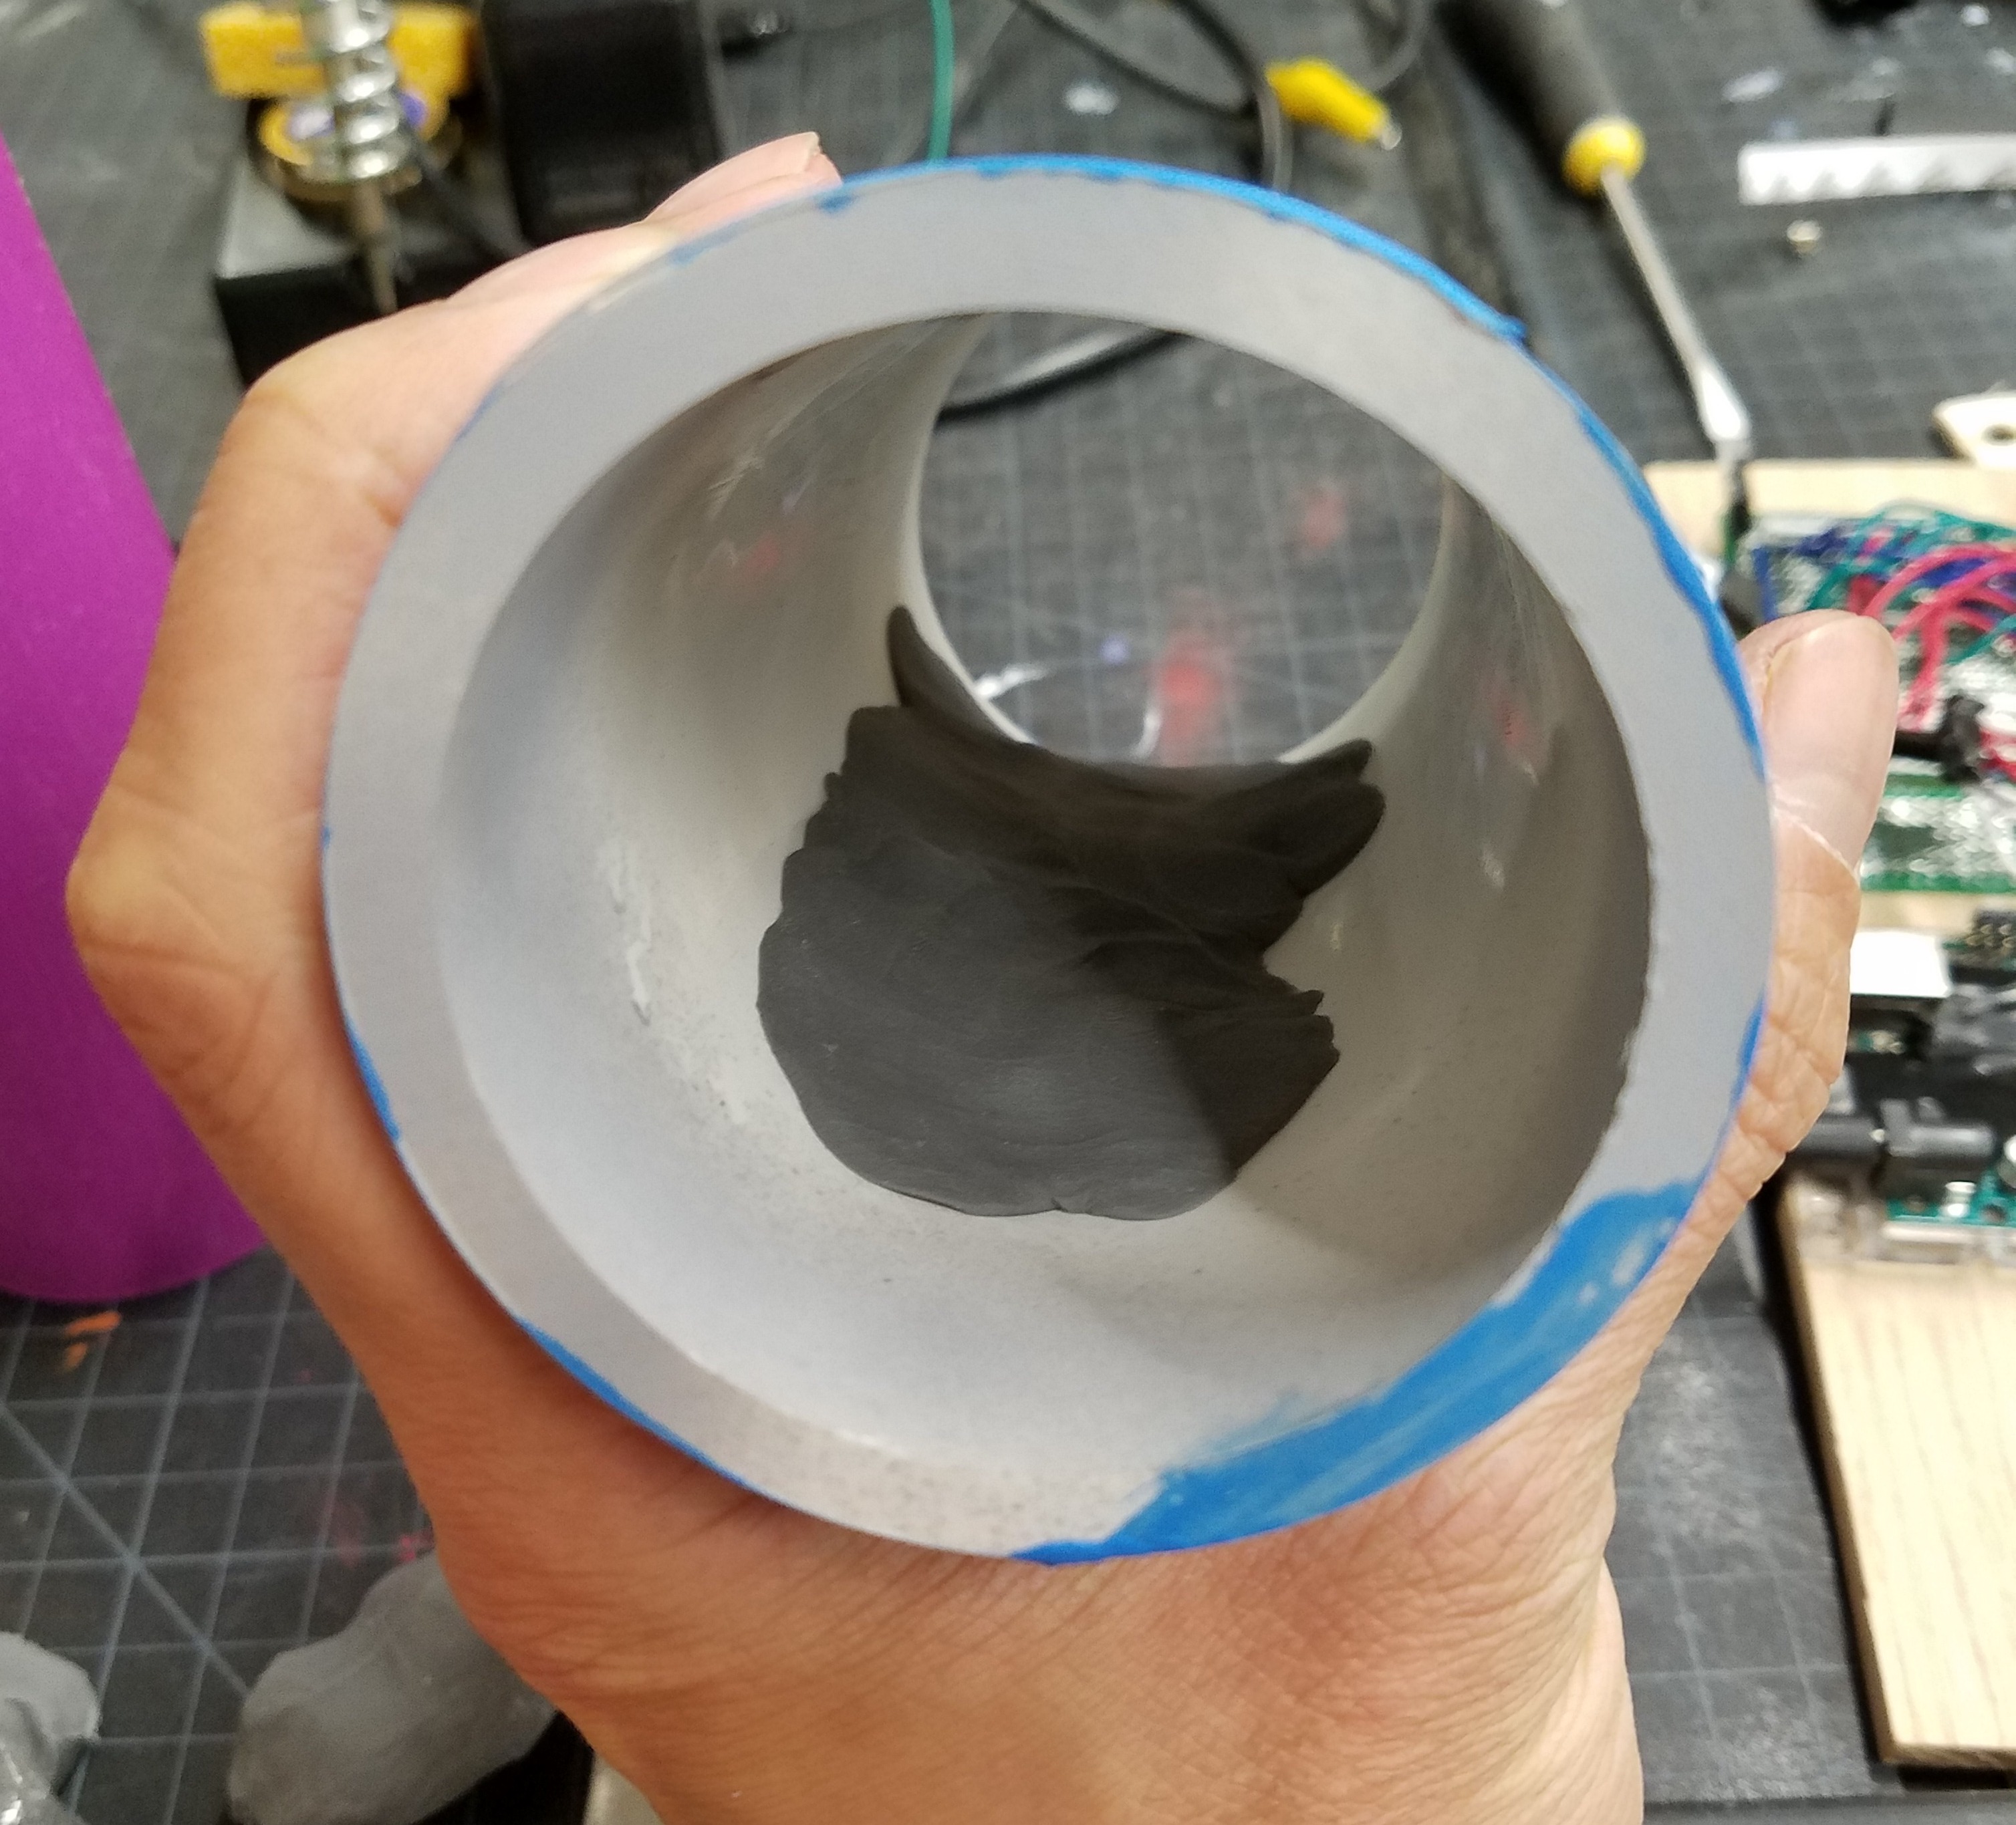
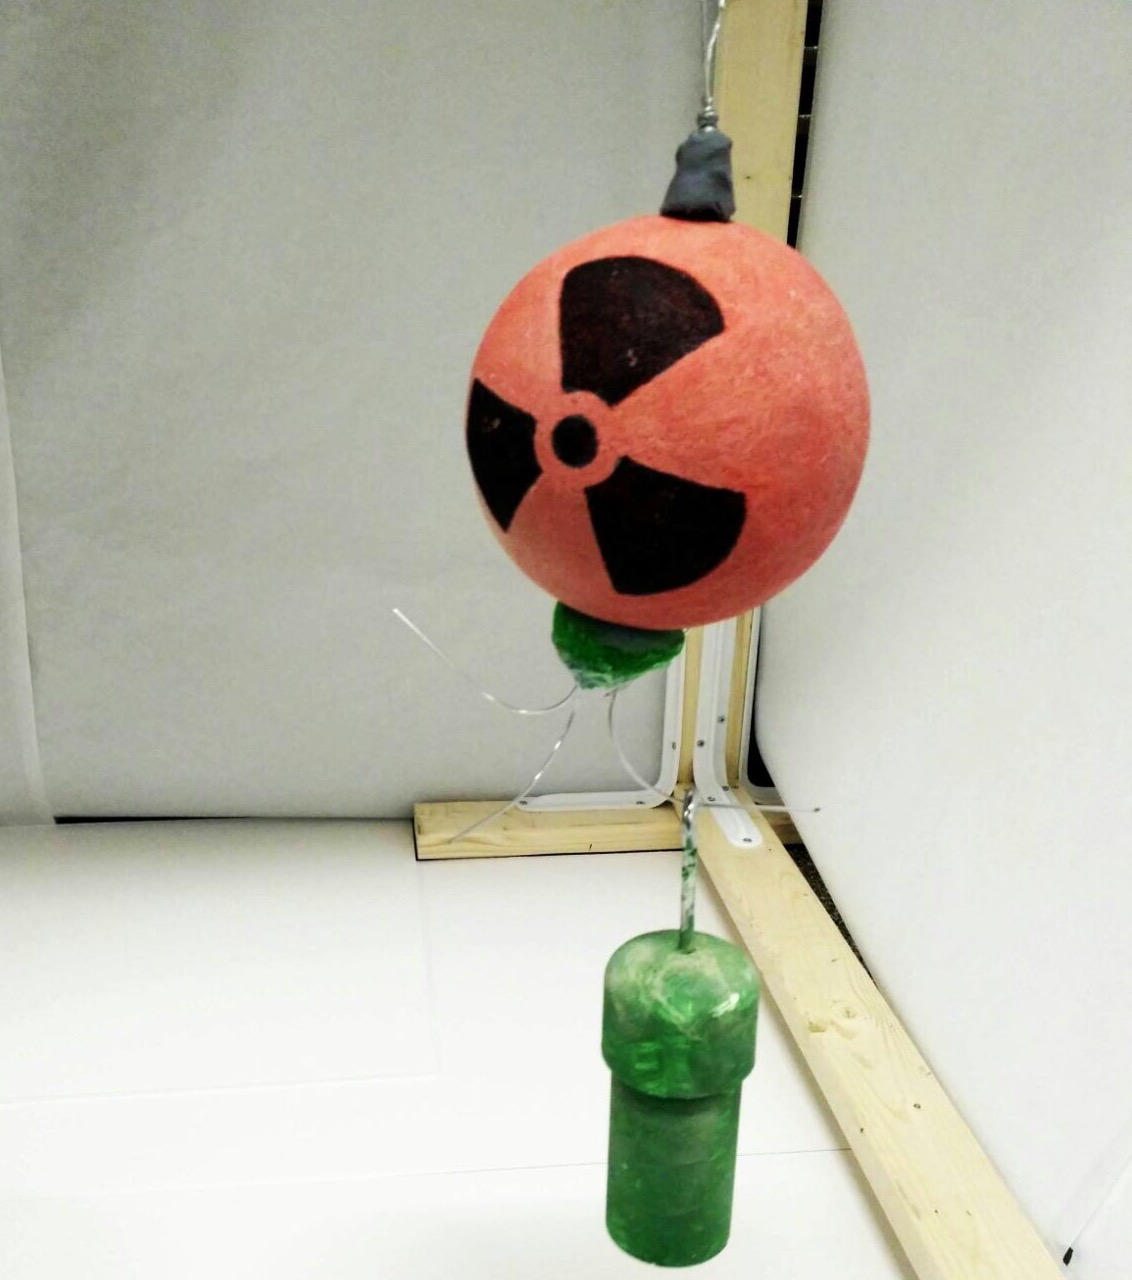
We decided to cap the rods with P95 acrylic, which transmits light relatively evenly through the material. It would align with the core when inserted correctly, activating LEDs in the core that would broadcast light through the caps and provide appealing indications of success. We inserted a clay weight in the rods to ensure they always rolled into a certain position to make hooking them more feasible.
We evaluated having all rods the same color, or different colors per rod. We concluded that different colors would be useful for two reasons. Expanding the difficulty of the game, we could require that certain rods be places in certain holes in the core. Conversely, having different colors for the rods made it easier for players to communicate which rods they were trying to get.
We refined the rods to include the acrylic caps, drilling holes to insert the ends of the rope-based hook. We found that the acrylic was too brittle to drill large holes through, so the rope would have to have a diameter of 1/8 inch or less. Also, we found that gorilla glue was sufficient for a few drops, but not extended use. In the actual implementation, a more secure and stable weighting mechanism would be needed as the clay could potentially separate from the wall of the rod. Also, a better adhesive or unibody design would potentially be more aesthetically pleasing as the gorilla glue had a tendency to bubble over the edges and turn brown.
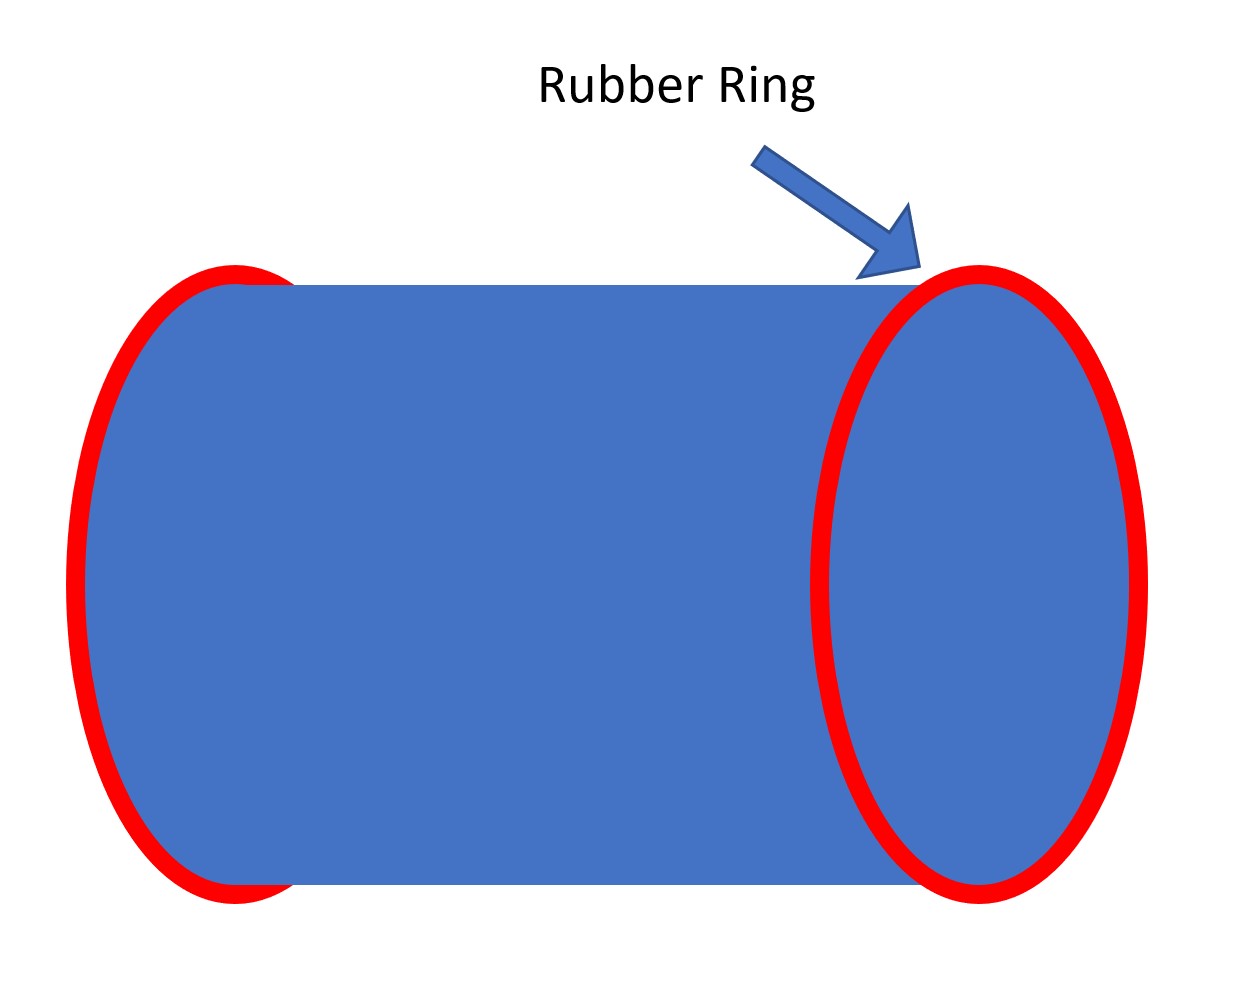
In the final design that we implemented, there were four key points of failure, as well as the overall risk of the rod shattering. The failure points were at each point of adhesion of the rope-based hook and between each acrylic cap and the PVC tube. We found the PVC and the paint on the rods to be relatively resilient against multiple drops, but that the acrylic was showing signs of cracking and wear after multiple drops onto a hard surface. This could be solved in three ways: 1) substituting a different material for the acrylic 2) including in the design a rubber ring around the circumference of each of the caps to prevent impact against the ground (figure 1) or 3) including a rubberized floor surface in the actual construction.
To reduce or eliminate the failure points, a unibody design could be utilized whereby the entire rod is formed from a single piece of material, and a reflective material or laminate layered on top that might have a similar visual effect as the P95 acrylic cap that we used.
Importantly, we found that the rods were getting jammed when not aligned perfectly with the core for insertion. This would likely be improved in final implementation through the inclusion of a cylinder within the core that guided the rod, as well as adjustments to the tolerances in the design.